FX Palettes provides a powerful way to map and trigger Snapshots when specific Cues are played in your Show. Using FX Palettes, Snapshots can be triggered manually by the global Trigger Buttons or autonomously by events in the music.
NOTE: Please review the Snapshots section under the Control Page before attempting to use FX Palettes.
What Can I Do With FX Palettes?
Here are some examples of what is possible with FX Palettes:
Create a static Cue where a chosen number of moving head lights focus on a specific spot.
Turn on your lasers only when the Kick Drum is playing and turn them off when the Kick Drum is not playing.
Set several predetermined positions for your moving head fixtures and have them move to each of the positions based on changes in the music.
Set your fixtures to automatically trigger built-in fixture strobing when the energy of the music is high.
Dim down or turn off some of your fixtures when the music is at a lower Activity Level or Silent.
Trigger any of your fixture’s built-in effects based on musical events
Use the STROBE Trigger Button to control your fixture’s built-in shutter or strobe effects
Use the BLINDER Trigger Button to control your fixture’s built-in blinder functions
Set up the EFFECT Trigger Button to control different effects depending on which Cue is playing.
Really, what can’t you do with FX Palettes? ?
Creating An FX Palette
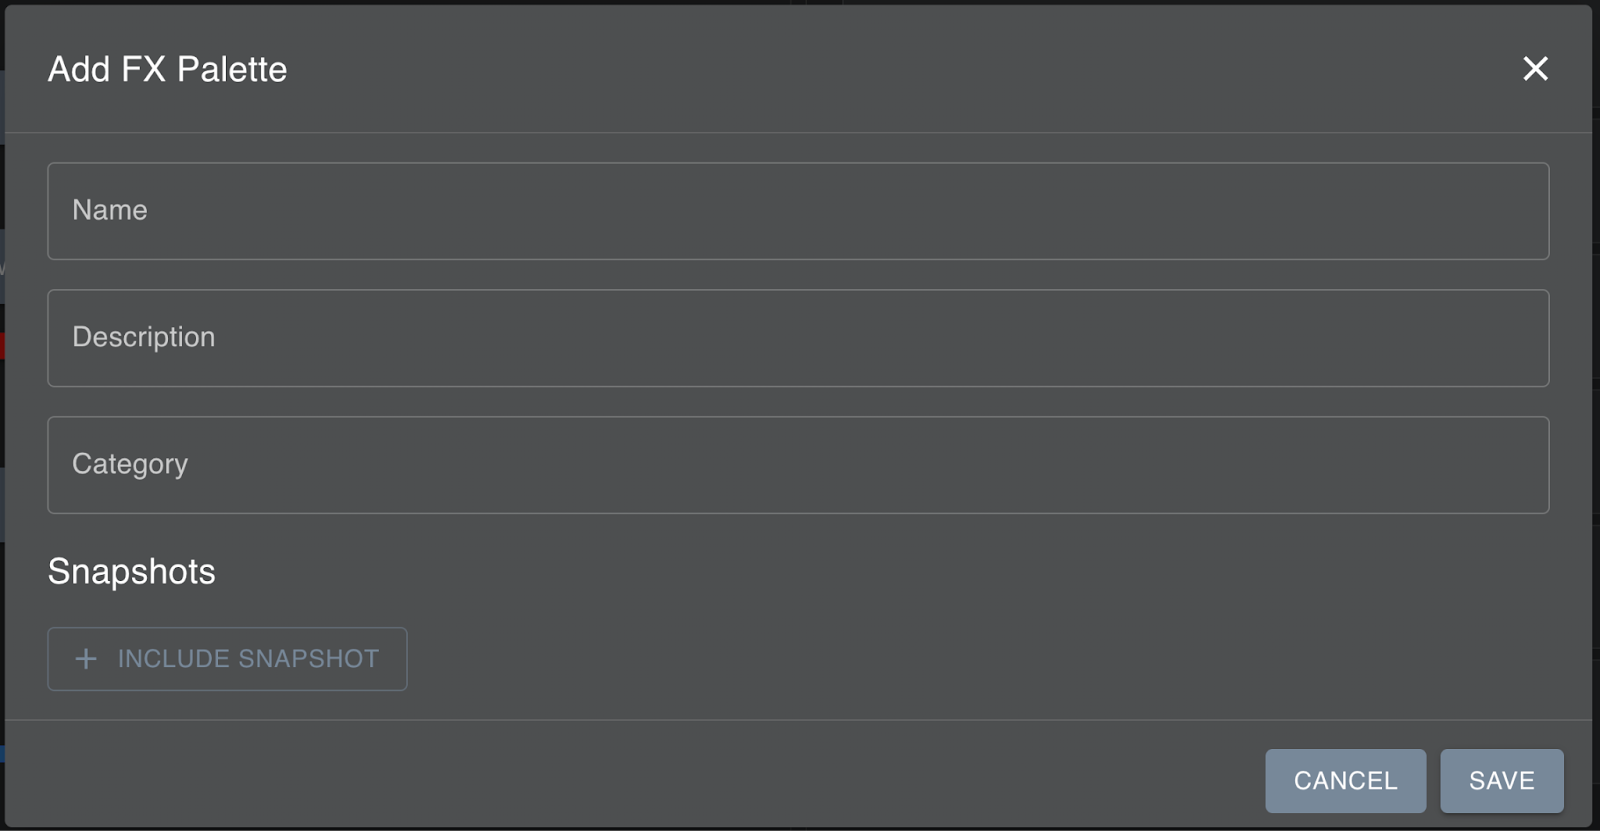
To create an FX Palette click the 3-dot menu to the right of the FX Palette drop-down menu and choose ‘+ Add FX Palette’
The FX Palette creation dialog will open. Here you can:
Name your FX Palette
Add a Description
Add a Category
Include Snapshot
Click on ‘+ Include Snapshot’ to begin. Then connect a Snapshot to an Active Category within a specified Activity Range.
Clicking on the ‘Select’ drop-down will show a list of all the Snapshots that have been defined on the Control Page. You can preview them on the Stage by clicking and holding the ‘eyelash’ icon.
NOTE: The preview will only work if MaestroDMX is playing either in Live Mode or via Cues in the Show
Click on one of the Snapshots to add it to the FX Palette. For example, below we have added the two laser-based Snapshots.
Active Category
Each Snapshot will trigger based on an Active Category within an Activity Range. The following Categories are defined:
Default: Snapshots set to Default will be triggered if no other Snapshots/Active Category pairs are present.
Silence: When there is no sound going into MaestroDMX.
Kick Drum: During sections of music where Kick Drum is present (ensure that your kick drum sensitivity is calibrated - see System -> Audio page).
No Kick Drum: During sections of music where Kick Drum is not present, such as breakdowns, etc.
Effect, Strobe, Blinder, Blackout, Fog: When global Effect Trigger Buttons are pressed.
What If I Have Multiple Snapshots On The Same Active Category?
Looking at the image above you could connect ‘lasers on 1’ and ‘lasers on 2’ Snapshots both to the ‘Kick Drum’ Active Category. When MaestroDMX hears the presence of Kick Drum in the music it will trigger one of those laser-based Snapshots. Then, when MaestroDMX senses a substantial change in the music it will switch to the other laser-based Snapshot defined in that same Active Category. You can connect any number of Snapshots to the same Active Category.
In summary, if several Snapshots are defined with the same Active Category, MaestroDMX will cycle through them based on dynamics in the music.
Activity Range
In an FX Palette, all Snapshots are defined to operate within a chosen range of an Activity Level. The Activity Level is a measure of how ‘exciting’ the music is. Defining an Activity Range for a Snapshot gives you a lot of power to create custom effects that are dialed into specific energy levels of music.
In this example, we have connected the Snapshots named ‘lasers on 1’ and ‘lasers on 2’ to the Active Category ‘Kick Drum’. The first laser Snapshot is set to trigger within an Activity Range of 50-100, while the second laser Snapshot is in a lower Activity Range of 25-49. On the Control page, under Snapshots, we would set up ‘lasers on 1’ to be more exciting compared to ‘lasers on 2’ to reflect their different Activity Ranges.
The FX Palette dialog monitors the Activity Level in real-time, a Snapshot’s Activity Range will turn green when the current Activity Level is within its bounds and red otherwise.
NOTE: You need to press ‘SAVE’ for your changes to take hold.
Was this article helpful?
That’s Great!
Thank you for your feedback
Sorry! We couldn't be helpful
Thank you for your feedback
Feedback sent
We appreciate your effort and will try to fix the article


