Navigate to ‘System’-> ‘Audio’ to access Audio settings.
Correct calibration of audio is critical to the functioning of MaestroDMX. Take the time to understand and learn how to use this section.
Pre-Gain Level
The Pre-Gain level displays the original audio input level. The display meter has three color states:
Blue: either there is no audio input or it is too low in volume
Green: audio input is within an acceptable range
Yellow: audio input is in the upper end of the acceptable range
Red: The audio input is too loud and needs to be reduced
IMPORTANT: Ensure that ther incoming audio feed turns the panel LED on the MaestroDMX unit or the Pre-Gain level in the Web App green.
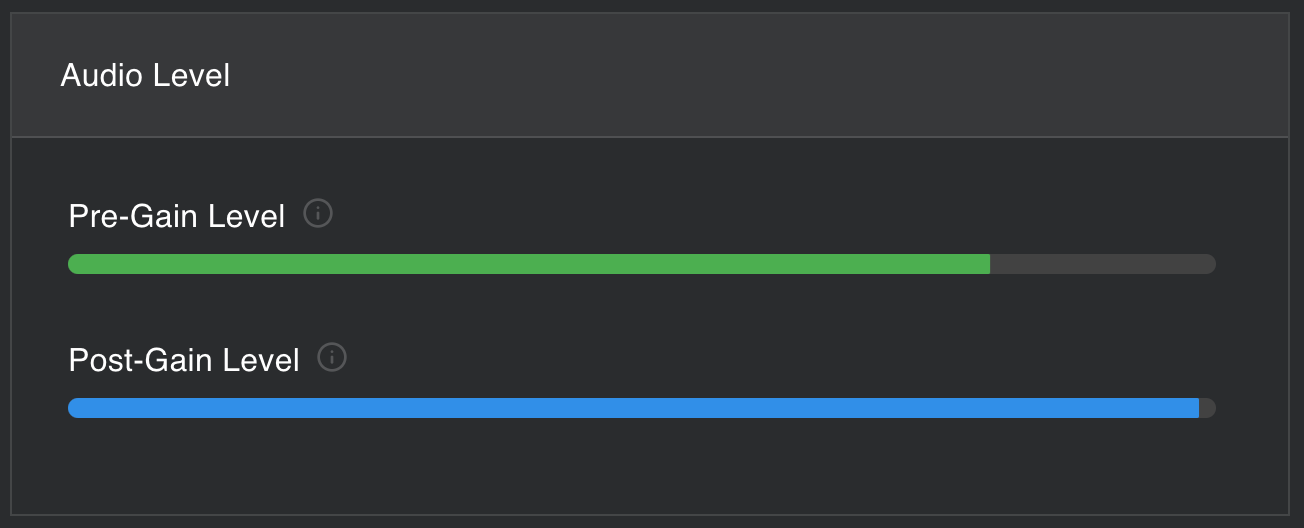
Post-Gain Level
Post-gain refers to the auto-gain applied to the audio input. In general, this level should be near the top of the range when music is playing.
Kick Sensitivity (Default: 50)
IMPORTANT: MaestroDMX’s algorithms require a reliable presence and/or detection of the kick drum from the musical input.
The Kick Sensitivity control is used to calibrate the detection of kick drum-based triggers depending on different styles of music. Here are some ranges:
Electronic dance music: 0 - 50
Rock, Metal, Etc (music with real drumkits): 50 - 75
Live Music (depending on the mix): 50 - 100
NOTE: If the Kick Sensitivity is too low, MaestroDMX may miss kick drums, and conversely if the level is too high there may be false positives (incorrect triggers from other bass sounds). In general, it is better practice to get false positives than to miss kick drums altogether. Keep an eye on the detected triggers throughout your event.

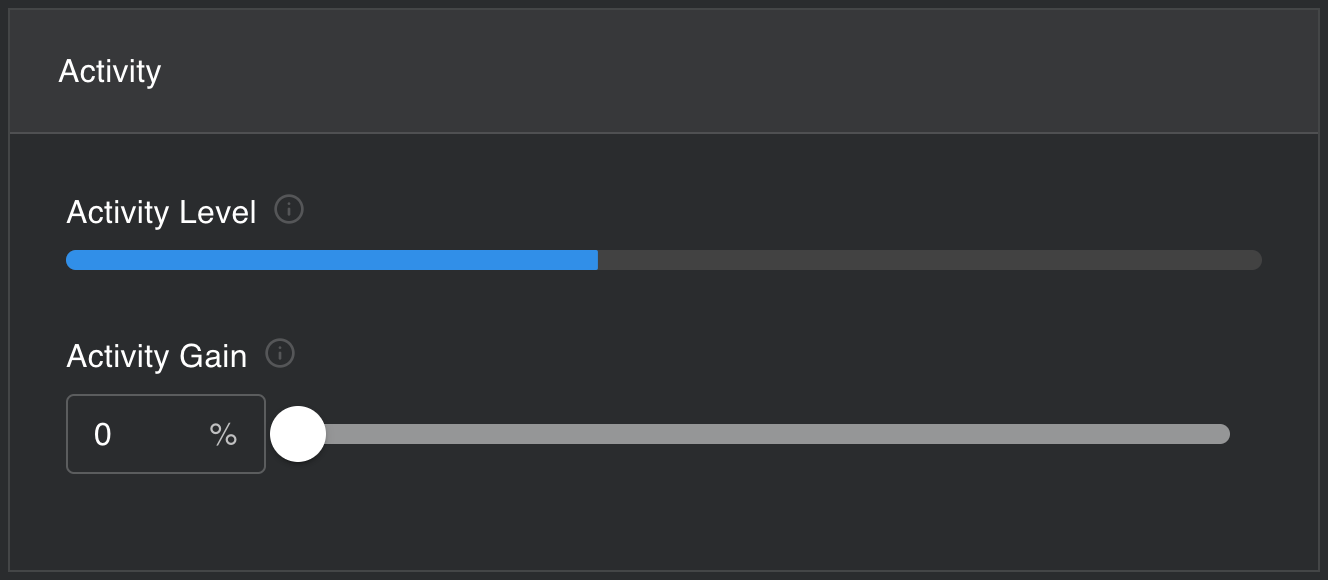
Activity Level
Activity Level tracks how exciting the music is at any given moment. MaestroDMX’s algorithms and AI use the Activity Level to determine how exciting the lighting output should be.
Activity Gain (Default: 0)
Adjusting Activity Gain allows you to calibrate the Activity Level for different music environments.
For pre-recorded, produced music Activity Gain is best set to 0. However, for live music, you may need to increase the Activity Gain, since live music does not have the same quality of production as recorded music.
To be clear, the Activity Level is not the same as the audio input level. This is a measure of the excitement of the music rather than the volume of the music, however, they are related.
IMPORTANT: To calibrate the Activity Level, play the most intense section of music (ie loud metal, rock, or chainsaw dubstep) Adjust the Activity Gain and make sure that the Activity Level reaches close to the top of the scale. For more relaxed music the Activity Level should be lower.
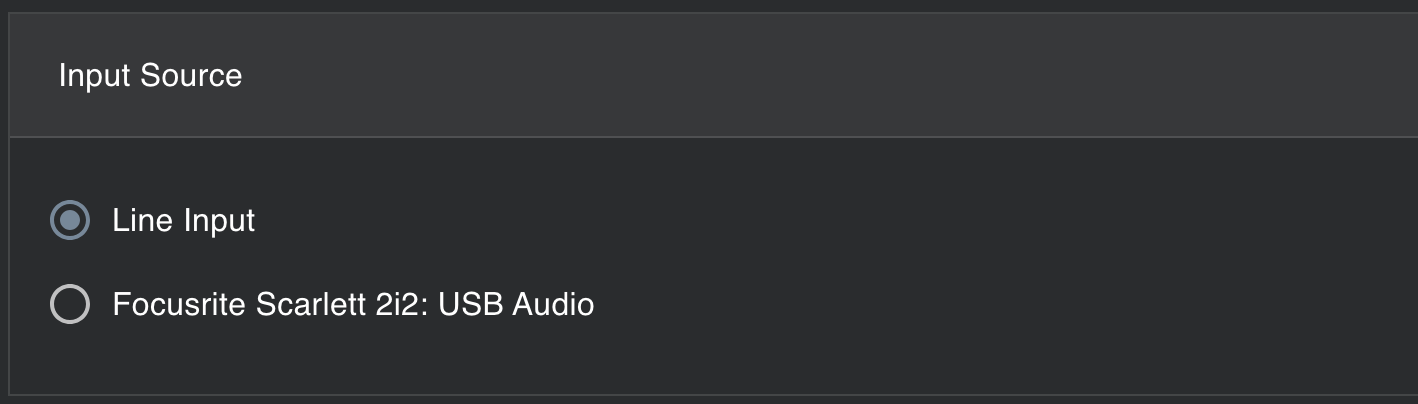
Input Source
Select the audio input source. By default, MaestroDMX only has a single line-level input source that comes in via the RCA connector on the front panel.
External Audio Interface
You can also connect an external USB audio interface to MaestroDMX. This can be useful when you need to send a balanced signal or directly connect microphones. To activate the external audio input, be sure to select it on the Web App.
NOTE: Only inputs 1 & 2 of the USB interface will be used by MaestroDMX.
Was this article helpful?
That’s Great!
Thank you for your feedback
Sorry! We couldn't be helpful
Thank you for your feedback
Feedback sent
We appreciate your effort and will try to fix the article